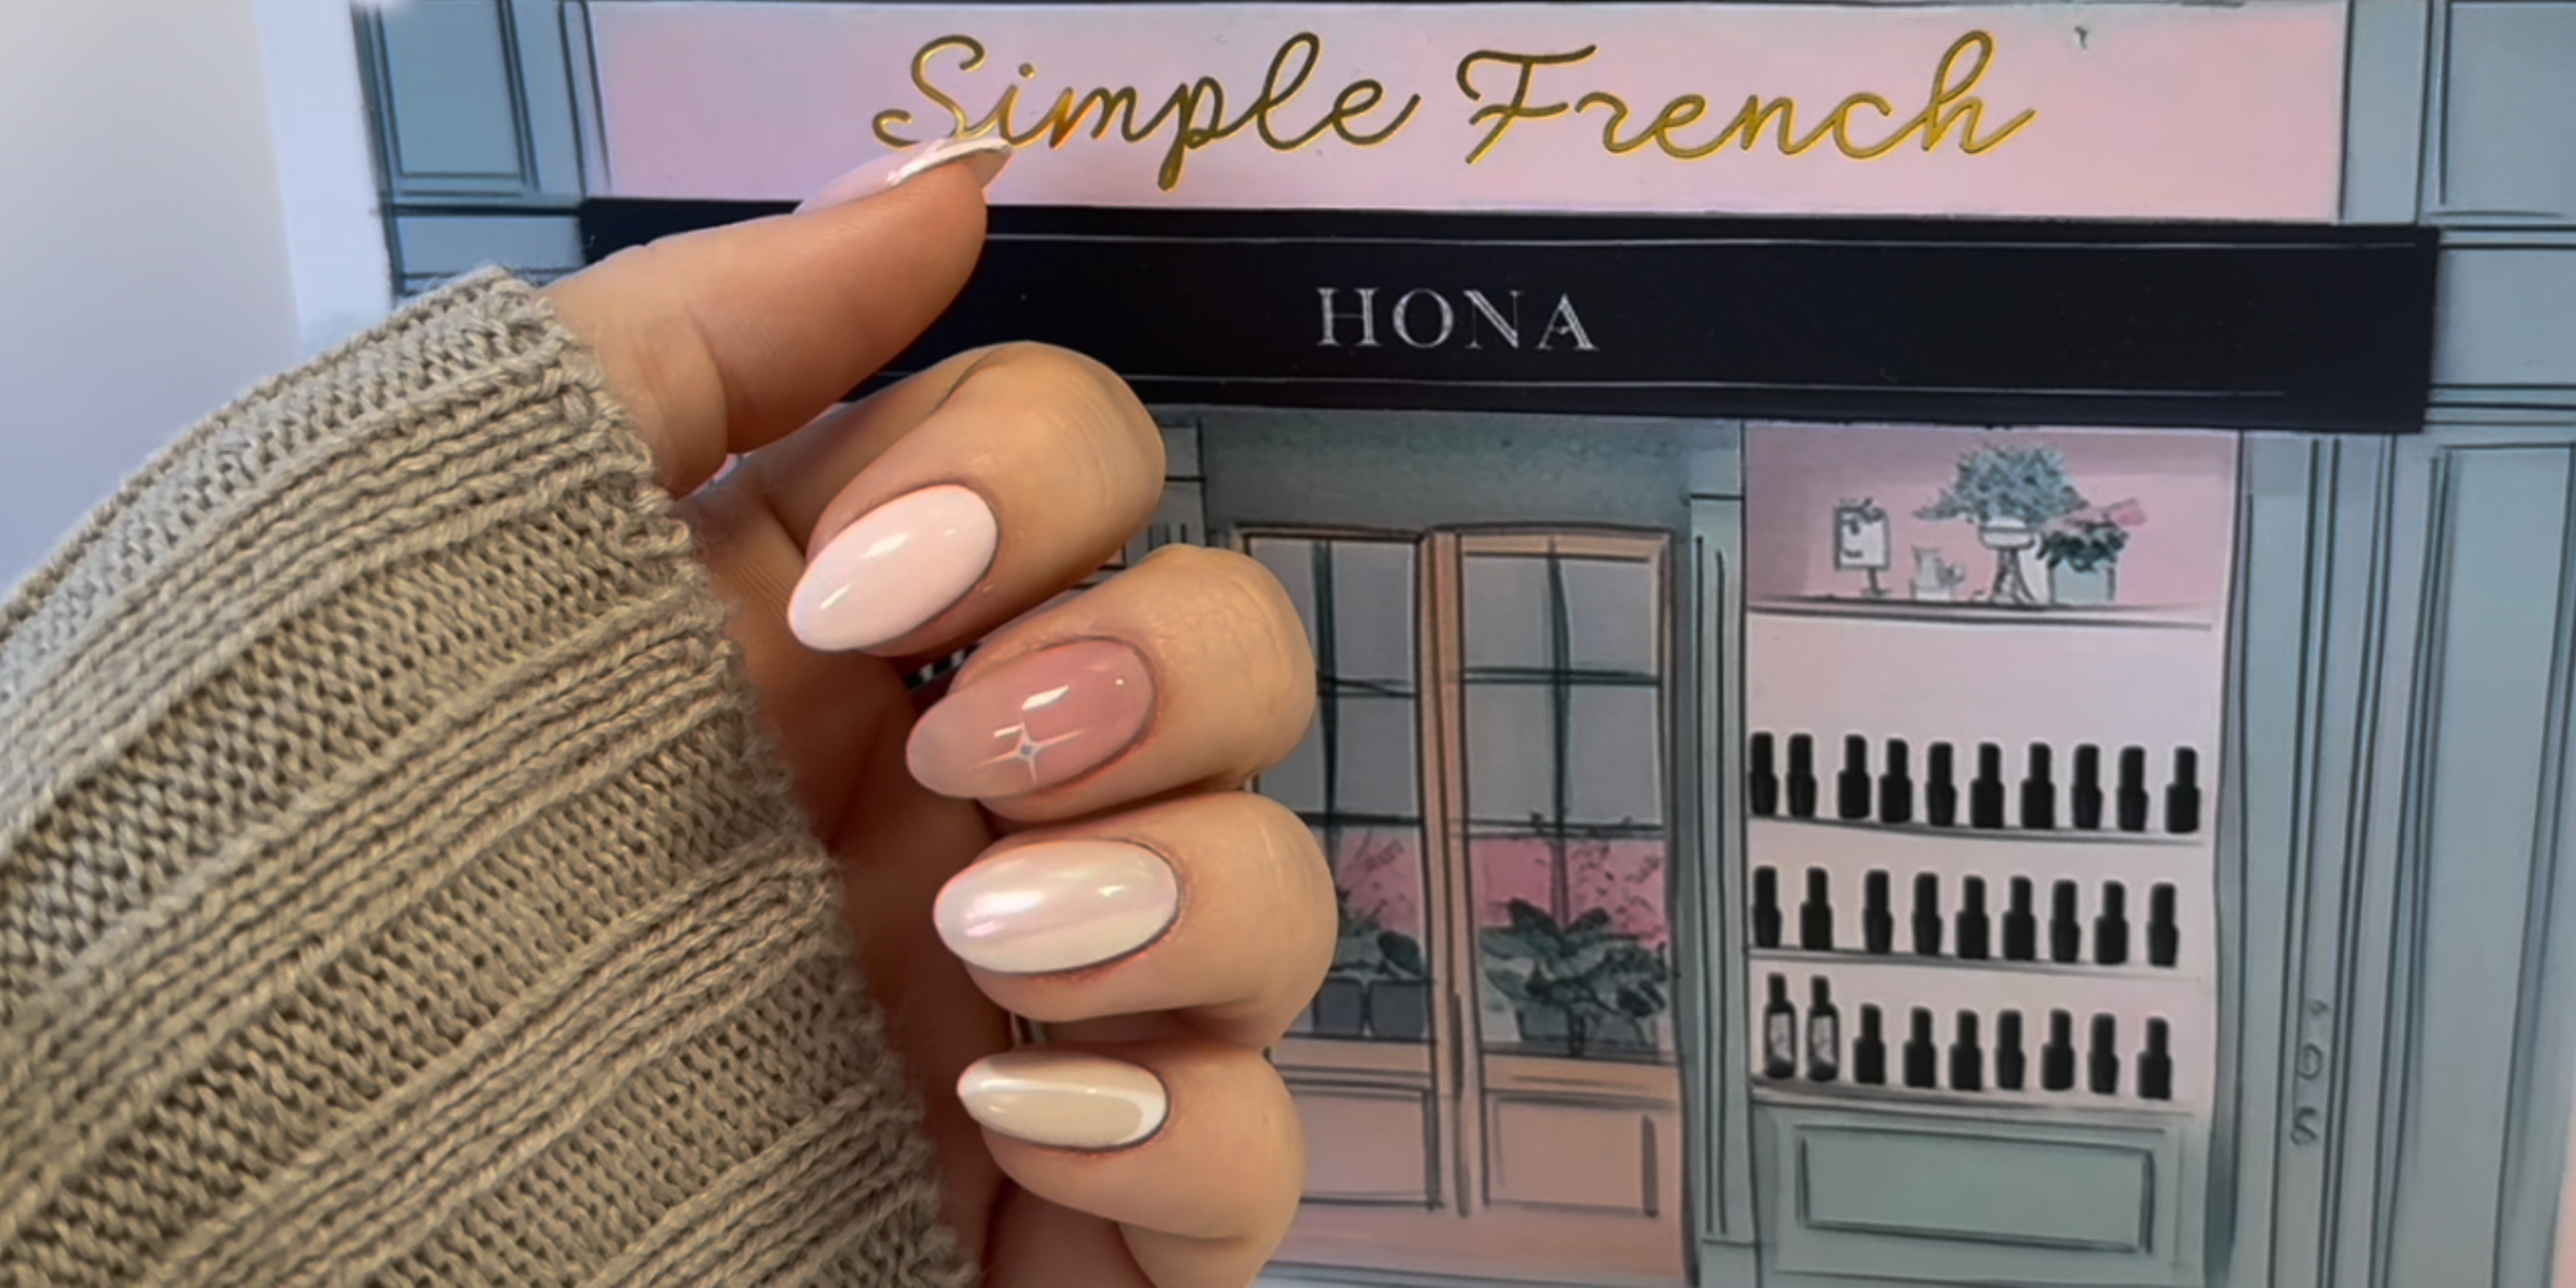
True Sculpt Hypoallergenic HEMA Free Tutorial
Join our Head of Education as she takes you through the step-by-step process of applying HONA's Hypoallergenic Hard Gel TrueSculpt. Whether you're working with overlays, tips, or forms, this tutorial will guide you through each technique, ensuring a flawless application every time. Perfect for beginners and seasoned nail techs alike, this in-depth tutorial will help you master the art of hard gel with confidence.
Watch Now
Shop the range
- True Sculpt Trial Kit
- True Sculpt Core
- True Sculpt Fibre
- True Sculpt Express
- Medium Gel Brush
- HONA Forms
- PureBond
- SuperShine Topcoat
- HONA Cordless Cube
Want to learn more?
Check out HONA’s Online Hard Gel Course for expert guidance, in-depth techniques, and everything you need to perfect your application.
TrueSculpt Hard Gel Application Guide
Hard gel is a versatile option for nail techs who want added strength, structure and durability. In this tutorial, our Head of Education demonstrates how to use TrueSculpt for three key services: extensions with tips, extensions with forms, and hard gel overlays.
Before starting any service, ensure the nails are fully prepped. The prep process is the same as TrueFoundation and TrueBuild, giving you a familiar starting point before moving into hard gel application.
Perfect your prep guide
Hard Gel Extensions Using Tips
When applying hard gel over tips, start by selecting the correct tip size. The tip should fit the natural nail plate from edge to edge. If needed, choose a slightly larger tip and refine it down rather than using one that is too small.
Apply nail glue to the inner well of the tip, then secure it to the natural nail plate using firm, even pressure. It is important to use enough glue to coat the well without flooding the nail. Once applied, press the corners down to ensure the tip is fully secured.
At this stage, it helps to discuss the desired shape and length with your client. Cutting the tip down early and removing corners where needed can save time during refining later, especially for round or almond shapes.
Once the tip is in place, lightly buff the surface with a 180 grit buffer to improve adhesion. Refine the edges and blend any harsh corners with a 240 grit file before dusting off and applying TrueBond across both the natural nail and the tip. Cure for 30 seconds.
To begin your hard gel application, apply a thin paper layer of TrueSculpt Core across the entire nail, including the tip, then cure for 60 seconds. Next, apply a slip layer and leave it uncured. This step is especially important with hard gel, as the thicker viscosity means the product needs more help to move than builder gel does.
Place your structure bead in the centre of the nail and float it into place using minimal pressure. Focus your movement through the centre, allowing the product to naturally flow towards the side walls. If needed, add a second bead to build enough structure and achieve full coverage.
Once happy, cure for 60 seconds and wipe with isopropyl alcohol. Hard gel often benefits from refining after application, so use a 180 grit file to perfect the side walls and free edge, then smooth the surface with a 180 grit buffer for a cleaner final result.
Hard Gel Extensions Using Forms
Using hard gel with forms requires a slightly different technique and can take a little more practice, but once mastered, it gives you excellent control over shape and structure.
Start by preparing the form. Remove the centre sticker and place it underneath the form to add extra support. Then roll the form between your fingers to match the natural C-curve of the client’s nail. The form should fit snugly against the side walls and free edge with no visible gaps. If needed, trim the form to customise the fit.
Clients with a very high hyponychium may find forms more difficult to fit, so in some cases, tips may be the better option. Having confidence with both methods allows you to choose the best approach for each client.
Apply TrueBond to the natural nail and cure for 30 seconds. Then go in with a paper layer of TrueSculpt Core, covering the full nail plate and extending the product onto the form to begin creating the extension. This first layer needs to be slightly stronger than a standard paper layer, as it will provide the base support once the form is removed.
After curing for 60 seconds, apply a slip layer and build your structure. Float the bead down the nail as you would with builder gel, then briefly turn the hand upside down to allow gravity to help pull the apex into place. Cure once you are happy with the shape.
After curing, remove the tacky layer with isopropyl alcohol and begin refining. File underneath the free edge first to remove any excess product, then perfect the shape from the side walls towards the centre. For almond nails, it helps to visualise a straight line running from the centre of the cuticle through to the centre of the free edge, using that as your guide for balance and symmetry.
Finish with a 180 grit buffer to smooth and refine the overall shape. Once complete, check the nail from every angle, including down the barrel and from the side profile, to make sure the free edge is not bulky and the apex is correctly placed.
Hard Gel Overlays
Hard gel overlays are an underrated service and a great way to add strength and structure without creating extensions.
Begin with a full TrueBond application and cure for 30 seconds. In this tutorial, TrueSculpt Express in Natural is used for the overlay. While it appears pinker in the pot, the finish on the nail is much more subtle. Express also features a built-in base coat and top coat, which can help speed up the service.
Start with a paper-thin layer of product and cure for 60 seconds. Then apply a slip layer and choose your preferred overlay method.
Method One: Let the Product Self-Level
The first method is the simplest. Apply your slip layer, place the bead onto the nail, and allow it to settle and self-level. This works especially well when doing multiple nails at once and is a great option for techs who want a more effortless approach.
Method Two: Traditional Floating Method
With the second method, apply your slip layer and then float the bead down the nail plate, just as you would with builder gel. Focus on the centre of the nail and use very light pressure, allowing the rest of the product to flow naturally to the side walls.
If more structure is needed, add another bead and blend it into the existing product before flipping the hand upside down to help the apex settle into place.
Method Three: A Hybrid Approach
The final method combines both techniques. You still allow the product to move naturally, but you guide it more actively with your brush or liner brush to perfect the shape and fill any areas that need more product. Once refined, flip the hand upside down briefly, then cure for 60 seconds.
After curing, wipe the nail with isopropyl alcohol. If the overlay is smooth and even, you may be able to leave the built-in top coat as your final finish. If you plan to apply colour afterwards, lightly buff the surface first to remove the shine and improve adhesion.
Key Things to Remember When Using Hard Gel
TrueSculpt behaves differently to builder gel, so your approach needs to reflect that. Because hard gel is thicker and slower moving, slip layers play a much more important role in helping the product flow where you want it to.
It is also normal to refine hard gel after application, especially when working with extensions. Filing and buffering help perfect the shape, smooth the surface and ensure the structure is balanced from every angle.
When checking your finished result, always look at:
- the side profile to confirm apex placement
- the barrel view to check thickness through the free edge
- the side walls to ensure symmetry
- the overall structure to make sure the nail is balanced for its length
Final Thoughts
TrueSculpt is a versatile hard gel system that gives you multiple ways to work, whether you prefer overlays, tips or forms. Once you understand how the product moves and how to build structure correctly, it becomes an incredibly reliable option for creating strong, beautiful enhancements.
If you want to take your hard gel skills further, explore HONA’s Online Hard Gel Course for more in-depth education, technique support and expert guidance.